


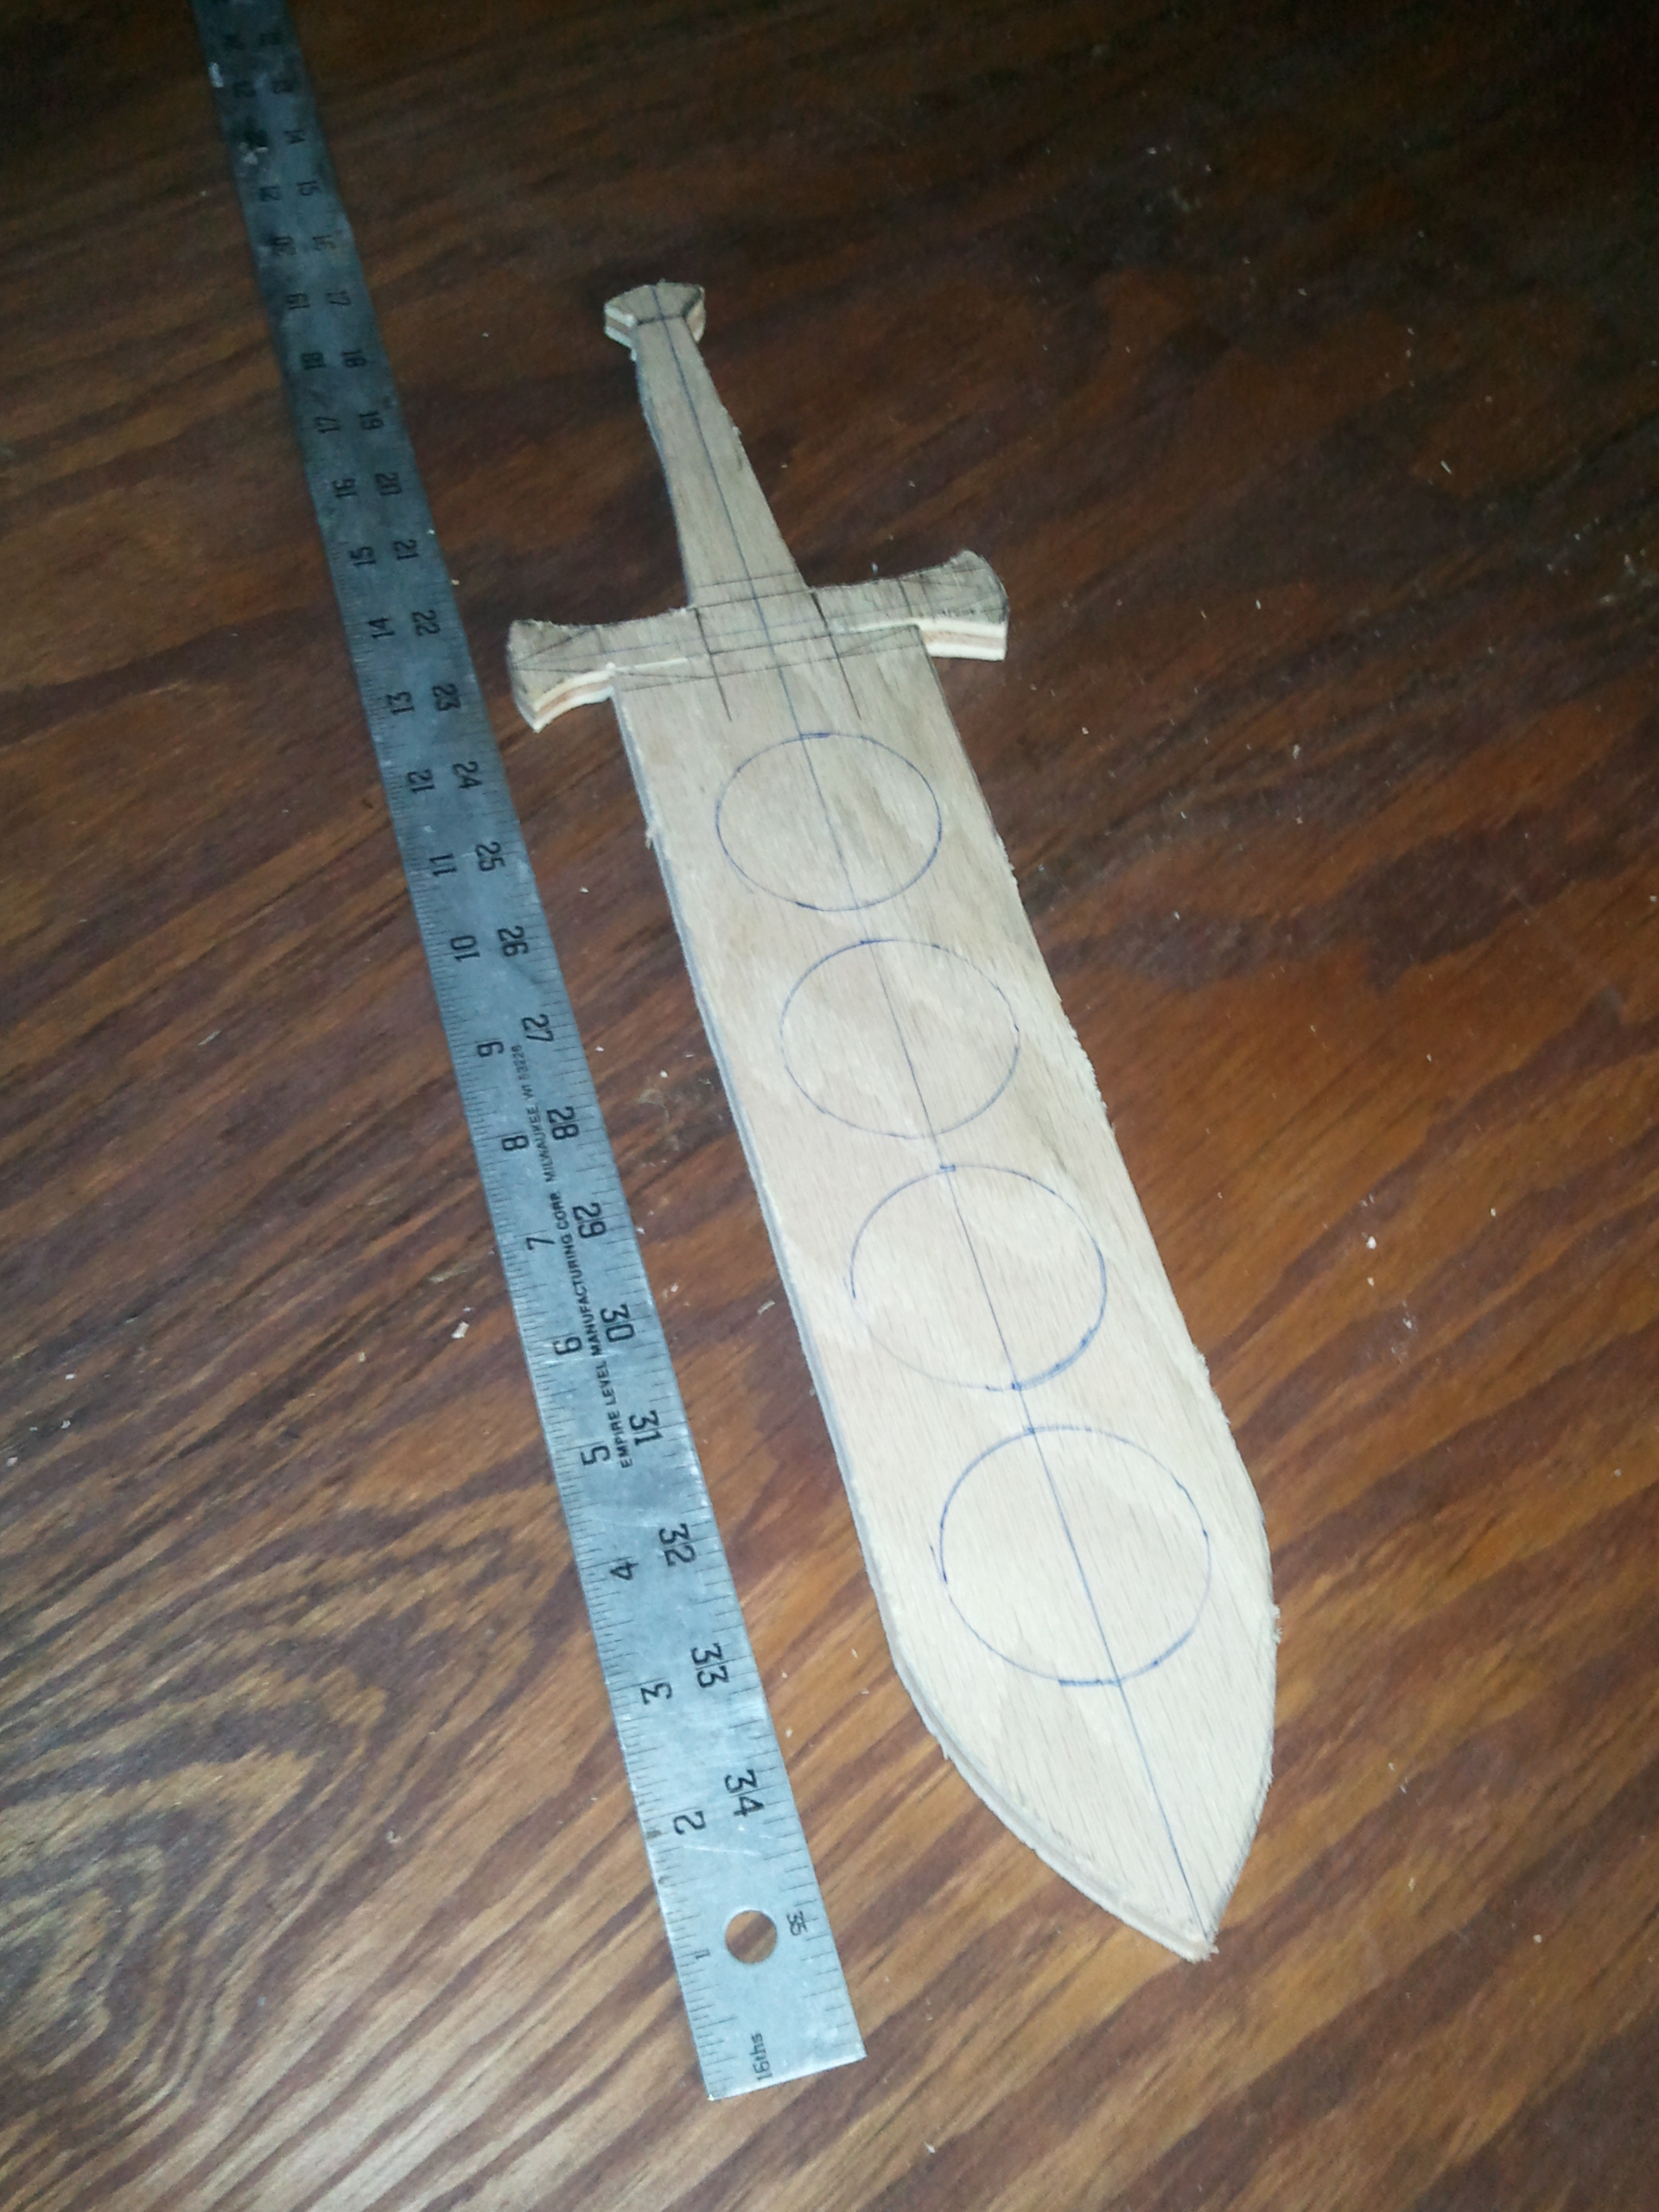
Step 1: Design. I sketched a template design on some scrap wood. Things to consider:
- How many tasting glasses will be on the paddle,
- Are the glasses straight-sided or curved (like a small pilsner glass),
- Space enough on the sides for stability,
- A “design” element if you want to “liven up” the paddle shape.
After talking with the folks at Conquest, the choice of a “sword” design was well-received. I would have liked a CAD pattern, but free-hand will do fine. Just make sure it’s symmetric. Put the glasses on the spots to make sure they don’t touch. Here is where your planning will assist most. Once you start cutting, you are committed.
As the saying goes, “Measure twice, cut once.”
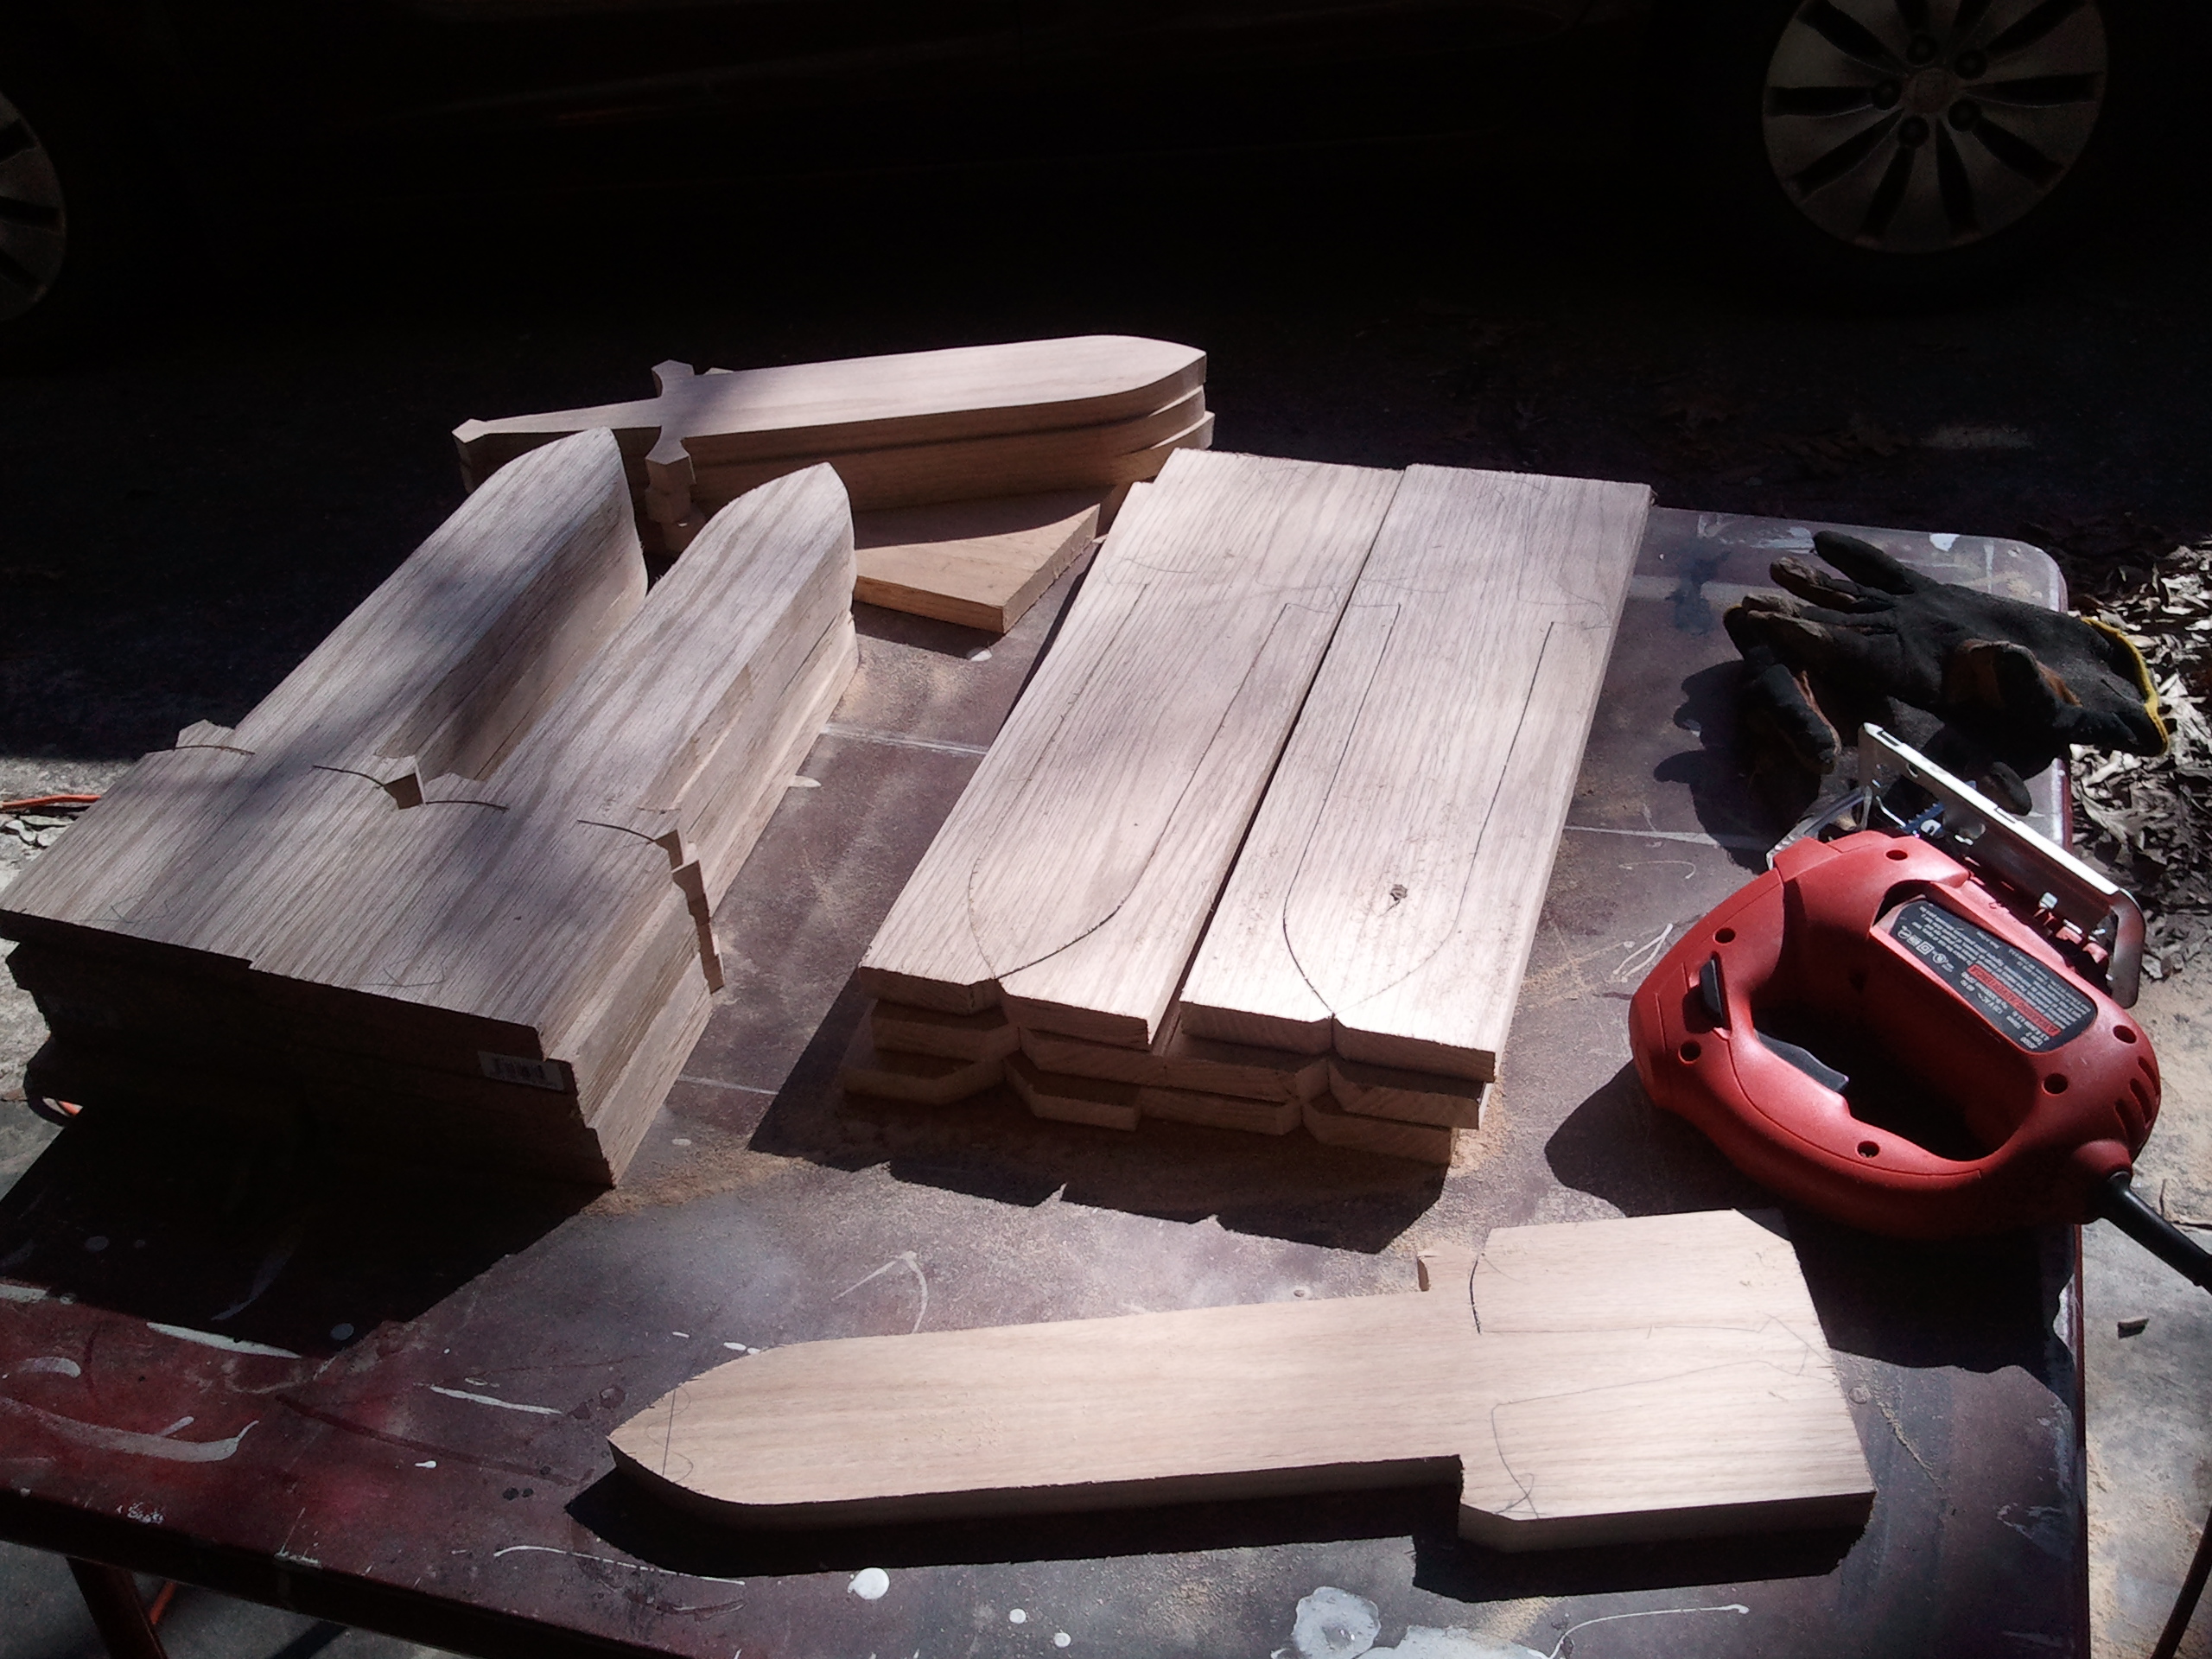
Step 2: Rough Cut. I selected 5/8-inch solid oak boards. No one material is better/stronger/faster than another, so use what you want, based upon your experiences and/or preferences. Sadly, no band saw, so my Black and Decker Saber got a work out. It did just fine. Oak, being a dense wood, caused me to go through a few saw blades.
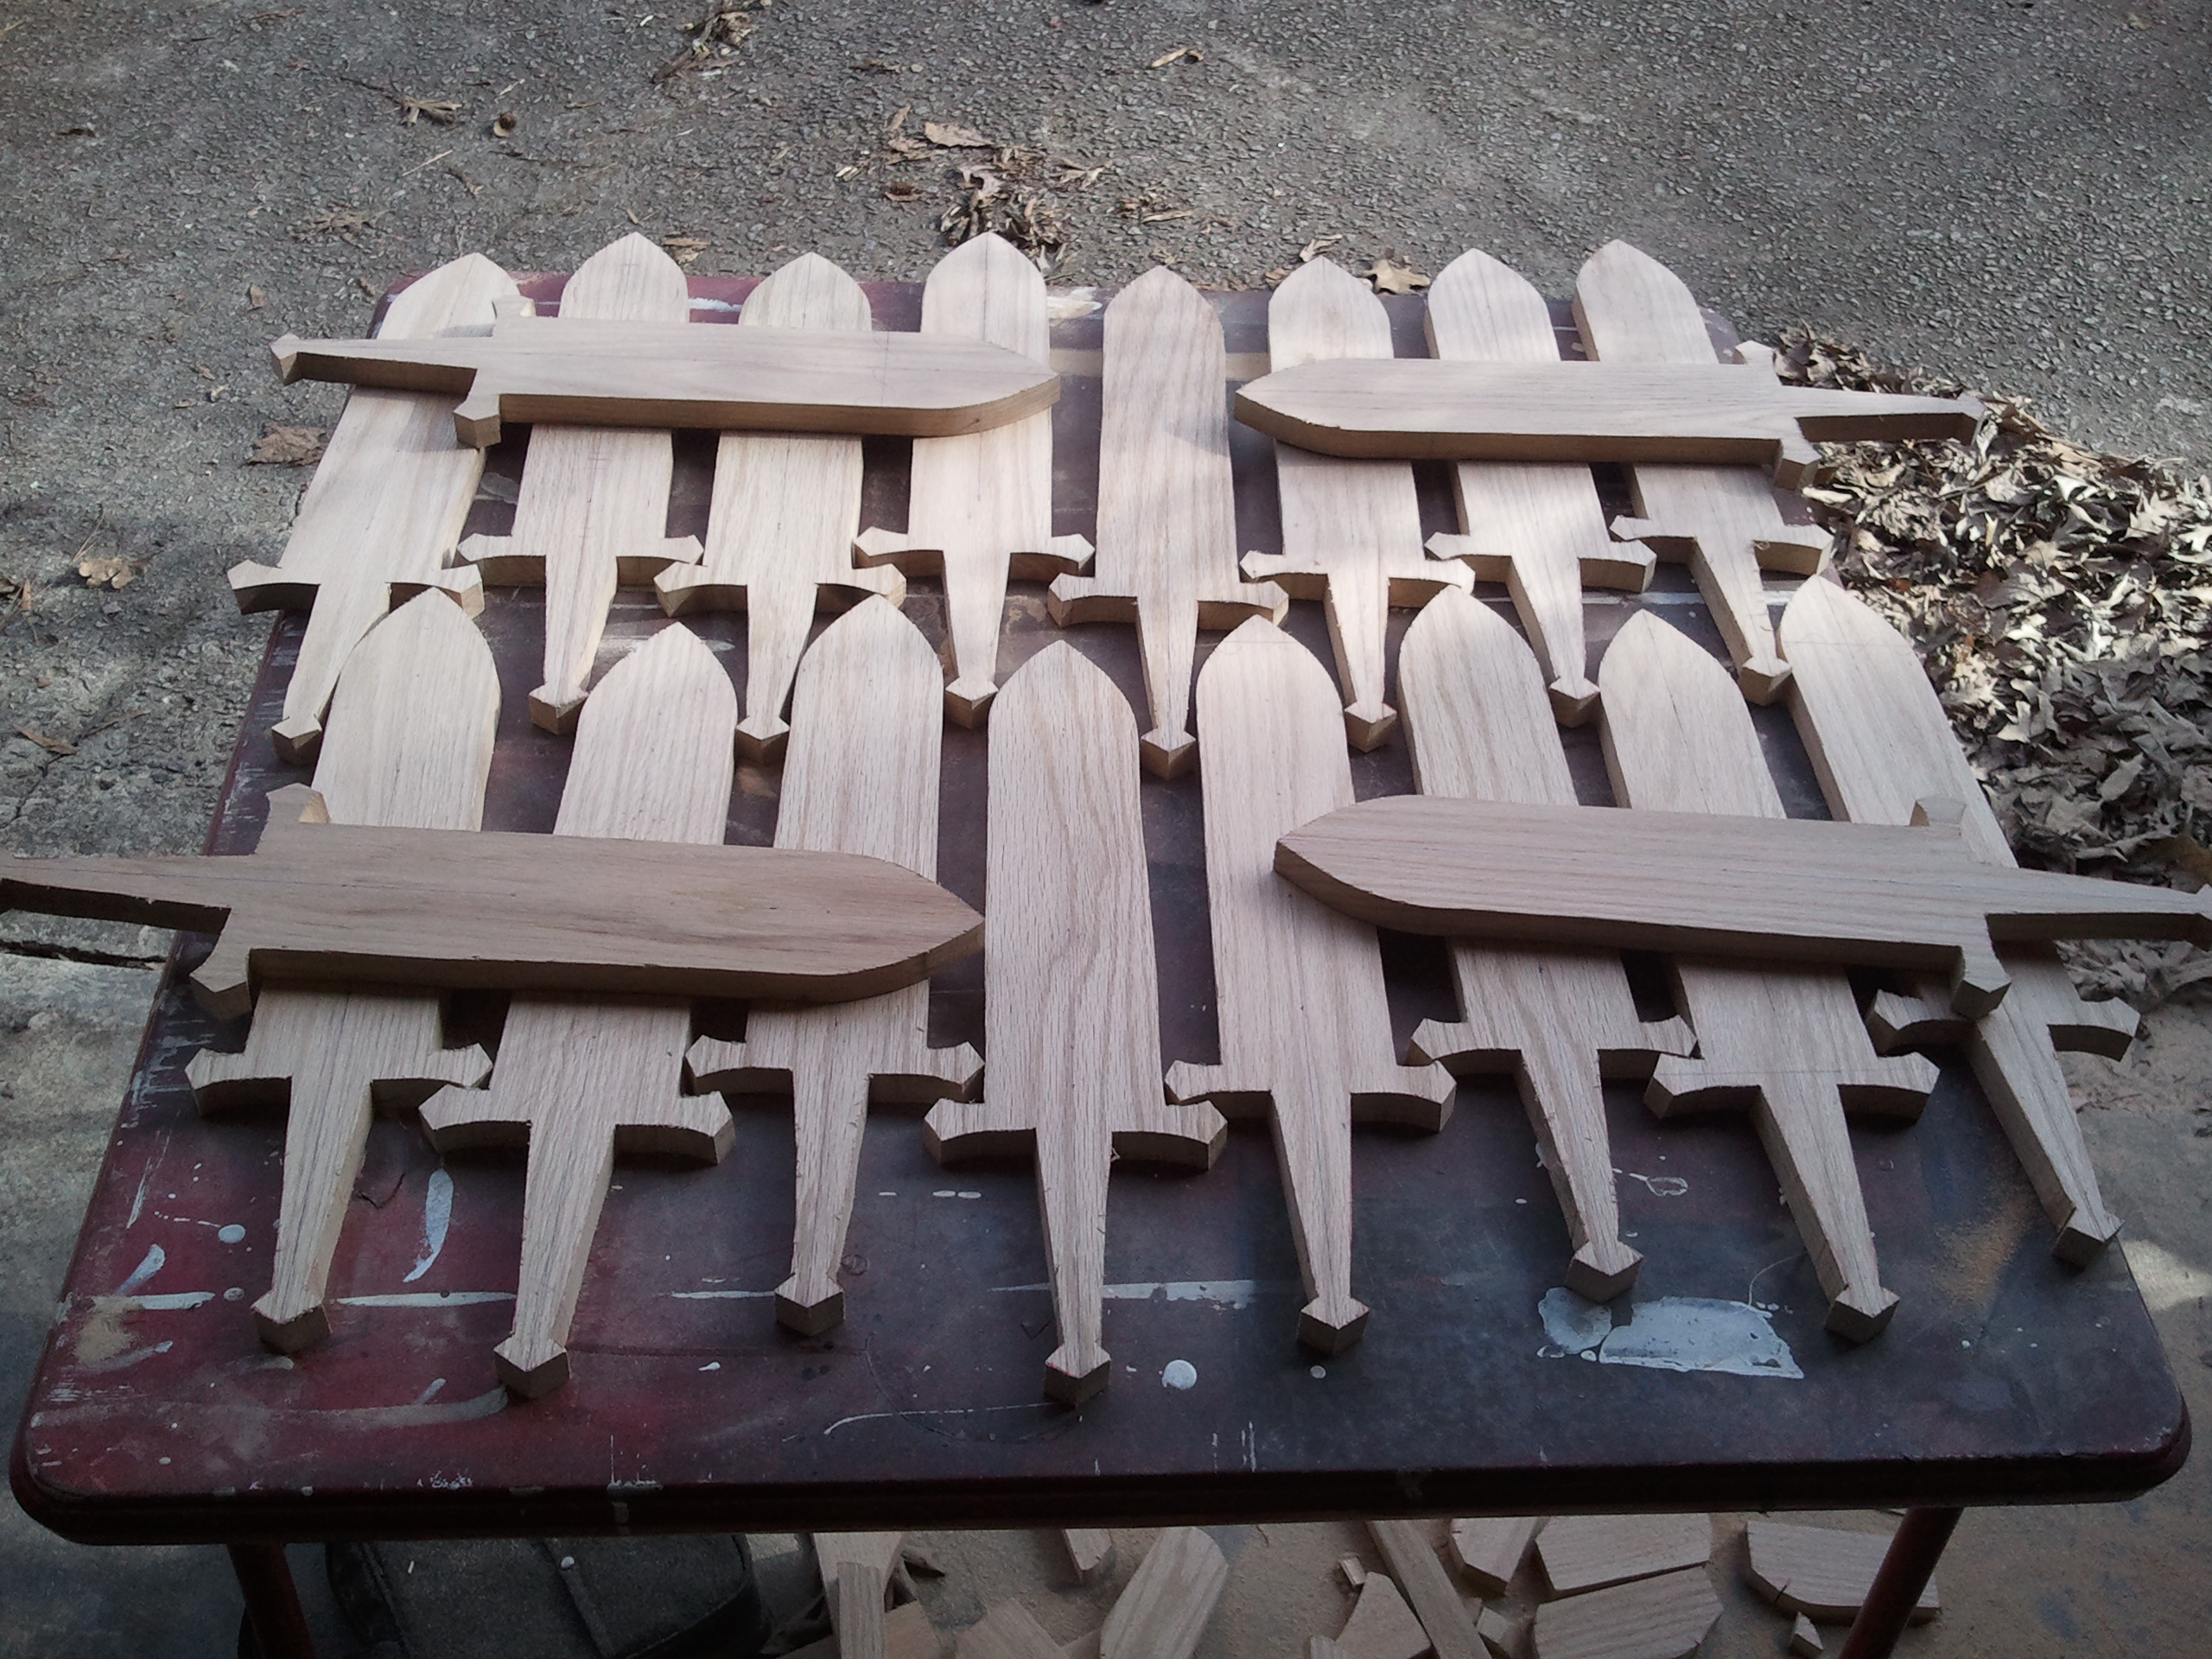
Step 3: Sanding. For this “order” I needed 20 paddles total. Once they were rough cut, on to sanding the edges. I used a square vibrating sander for this workout.
Step 4: Recessed holes. Now to cut the recessed holes for the tasting glasses to sit. Not having a drill press (seeing a trend here? No big tools, just DIY stuff…), I needed to determine how best to cut the holes, without:
- Going all the way through,
- Leaving a jagged edge.
Knowing that the tasting glasses were 2.25in in diameter, I purchased a 2.5in hole saw. This affixes to your drill bit and gives you a nice low-cost option. Knowing that I was working with 5/8ths wood, I practiced on some scrap wood of equal size until I was able to gauge a depth I wanted (i.e. figuring out how far I could drill, without the pilot drill bit exiting the bottom). Once I found the depth, I left the hole saw in the wood and drew with black marker on the saw blade how deep was “deep enough”. I then would be able to use that for each hole.
Oh, note to self. When cutting with a hole saw, make sure to vice grip the board down prior to cutting, one whack in the privates is a good reminder…
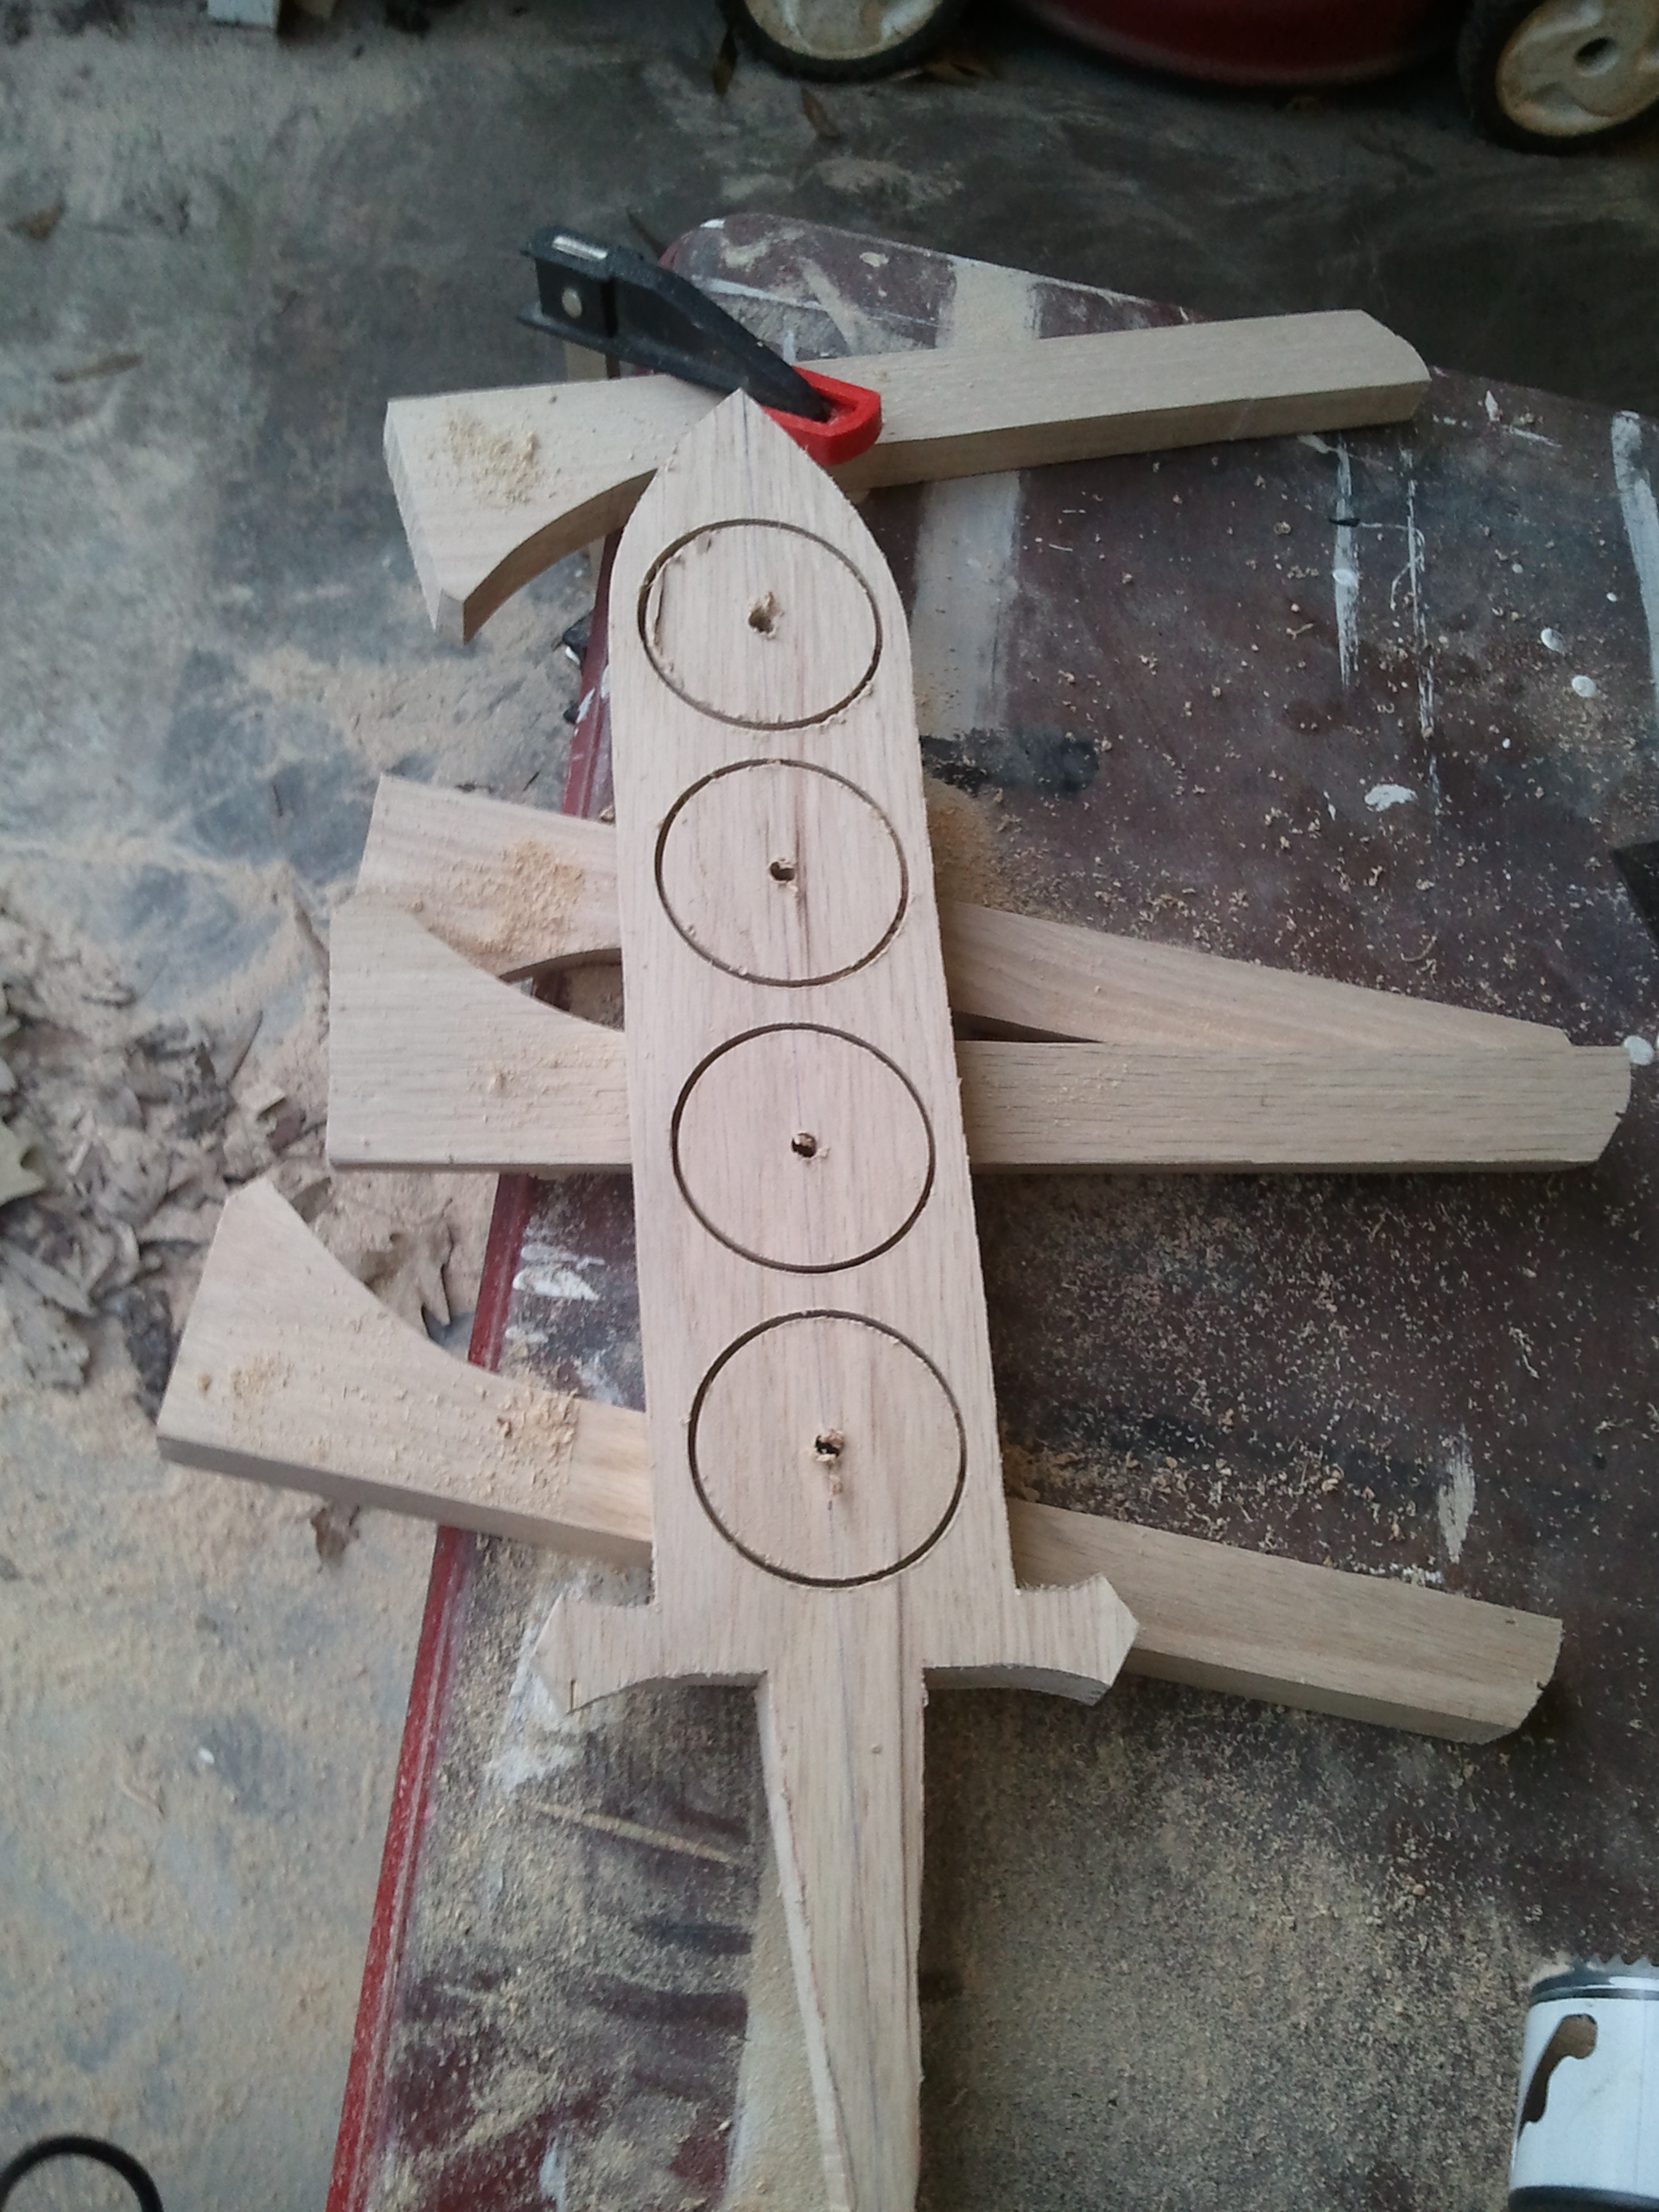
Step 5: Routing. Now that the circumference was determined, I used a plunge router to take out the inside to the depth needed. This can then be be calculated (again, using some scrap wood) and locked into the stage of the router.

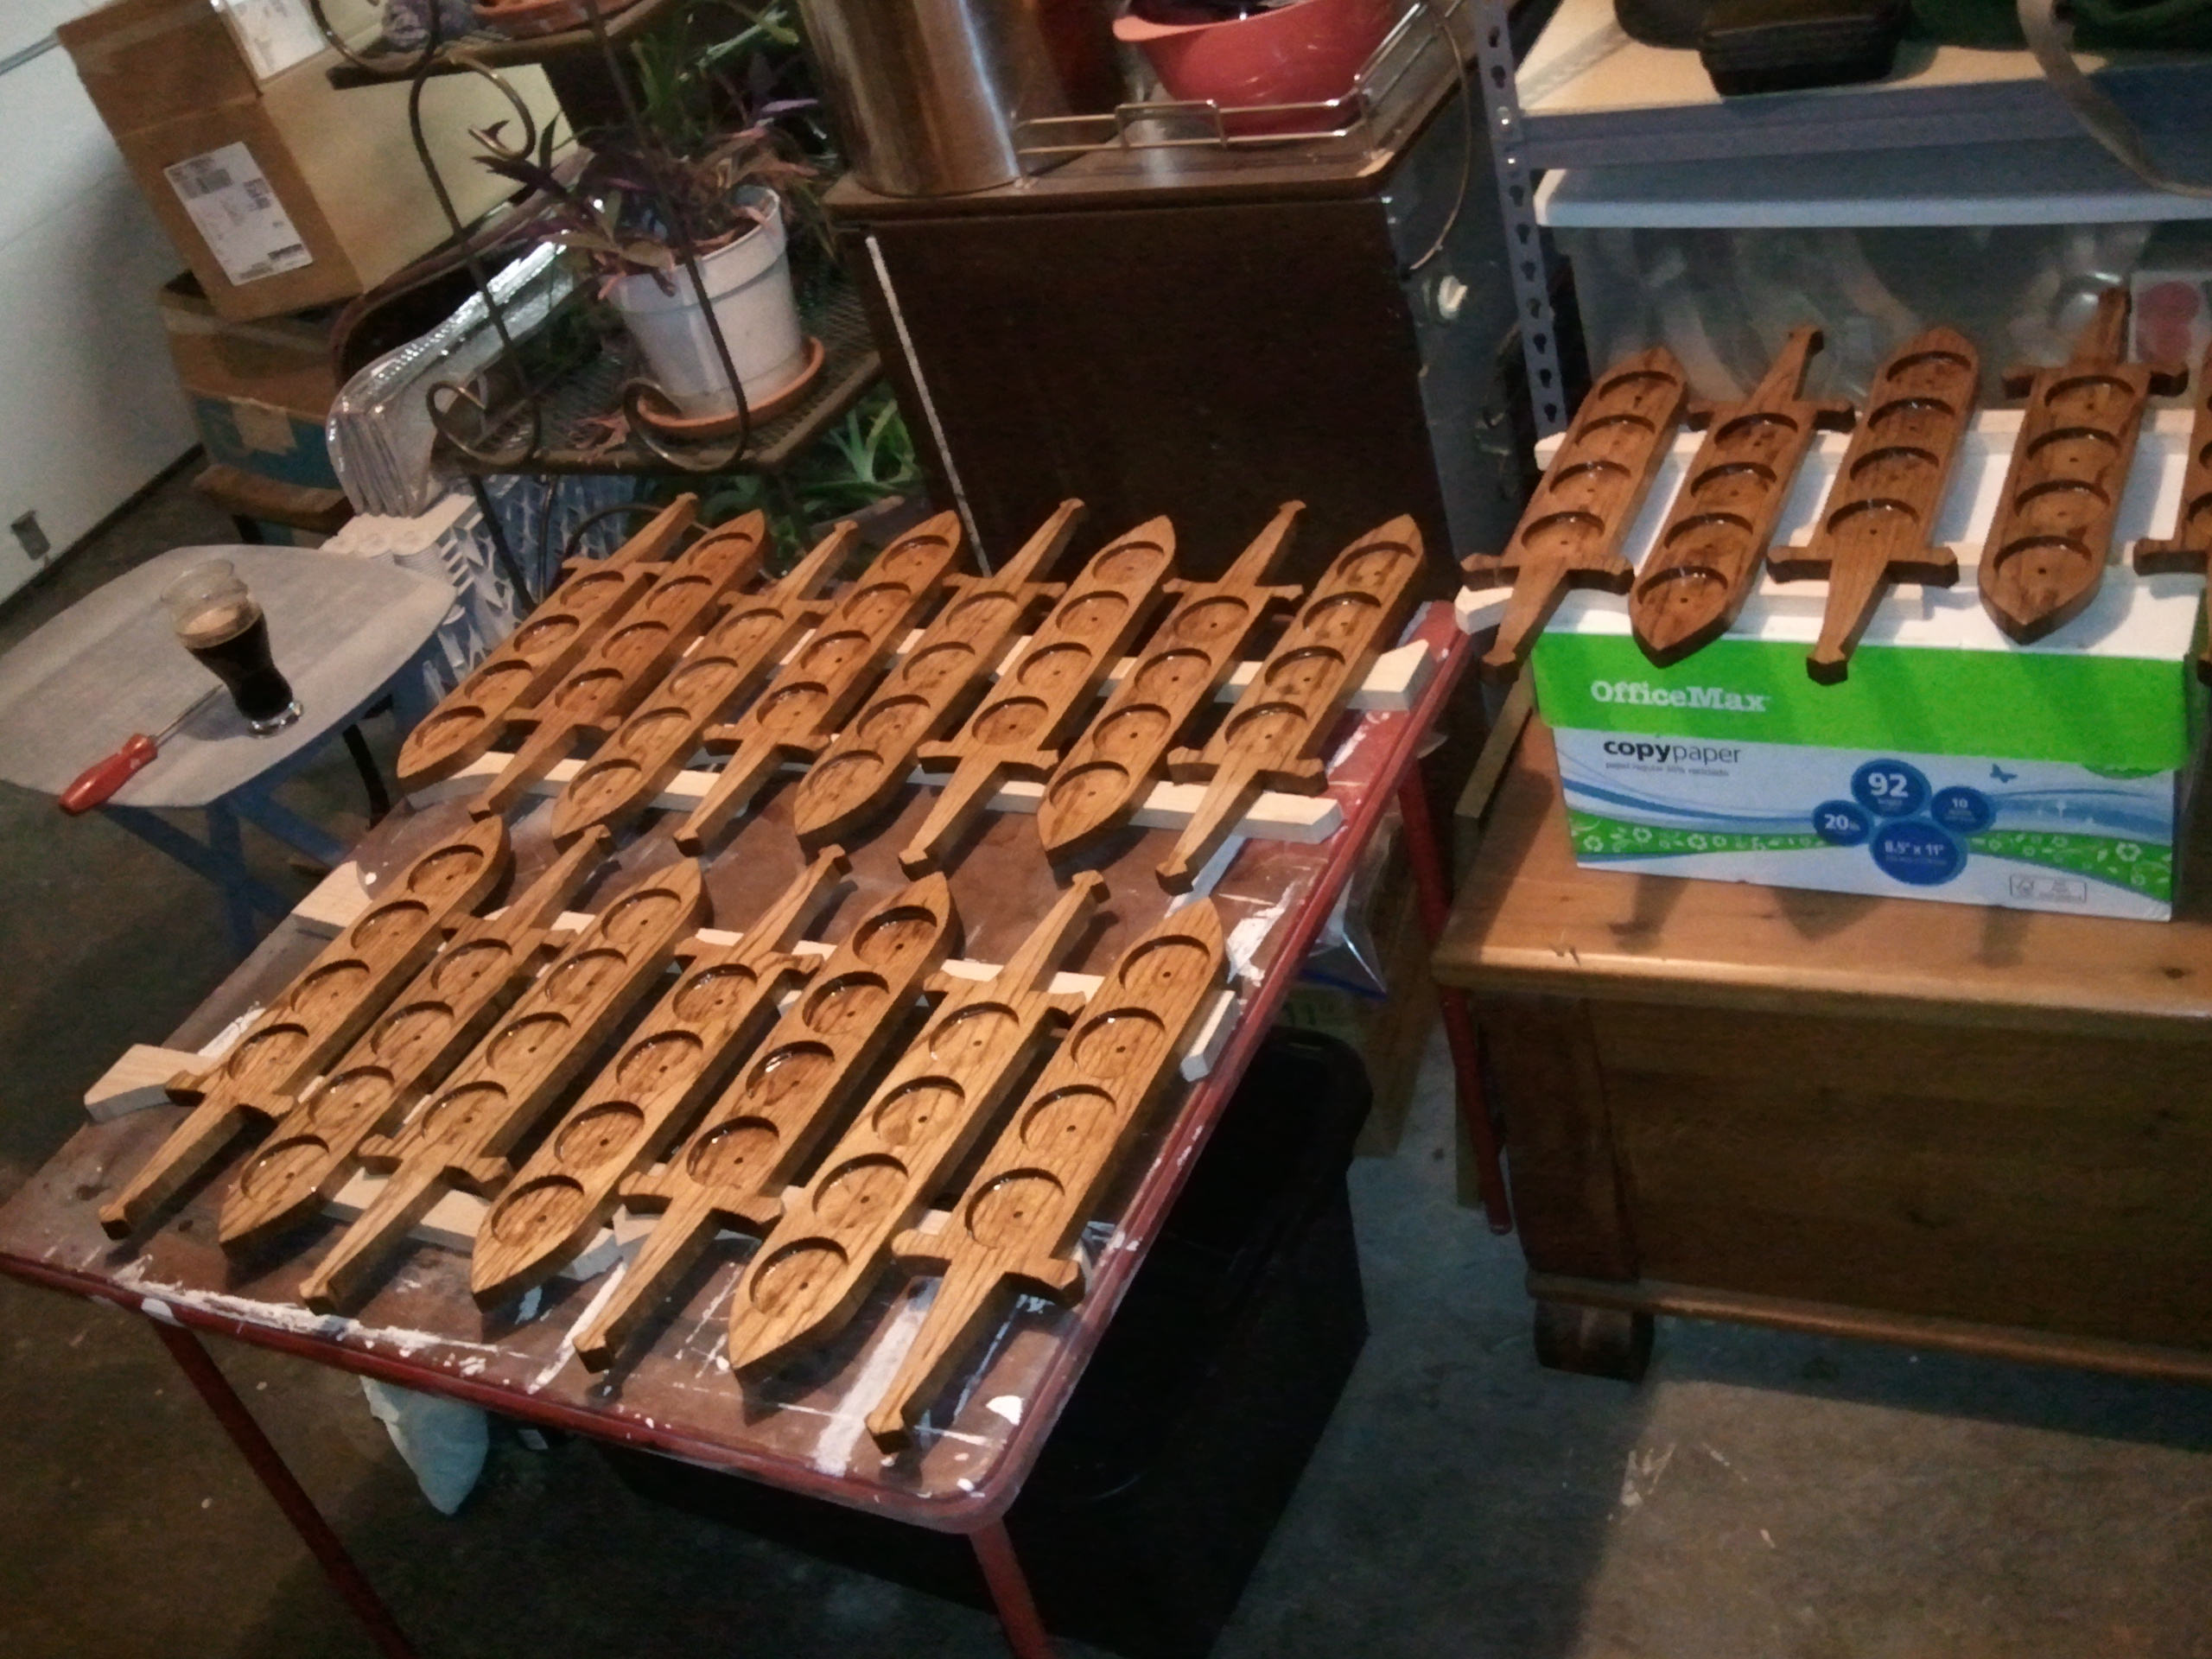
Step 6: Staining. I used a warm Early American stain from Minwax. Available at the big box stores, nothing special. Just pick the color you like, practice on some scrap wood of the same type as the finished product and off you go. I chose not to use a wood conditioner prior to staining. I saw no ill effects.
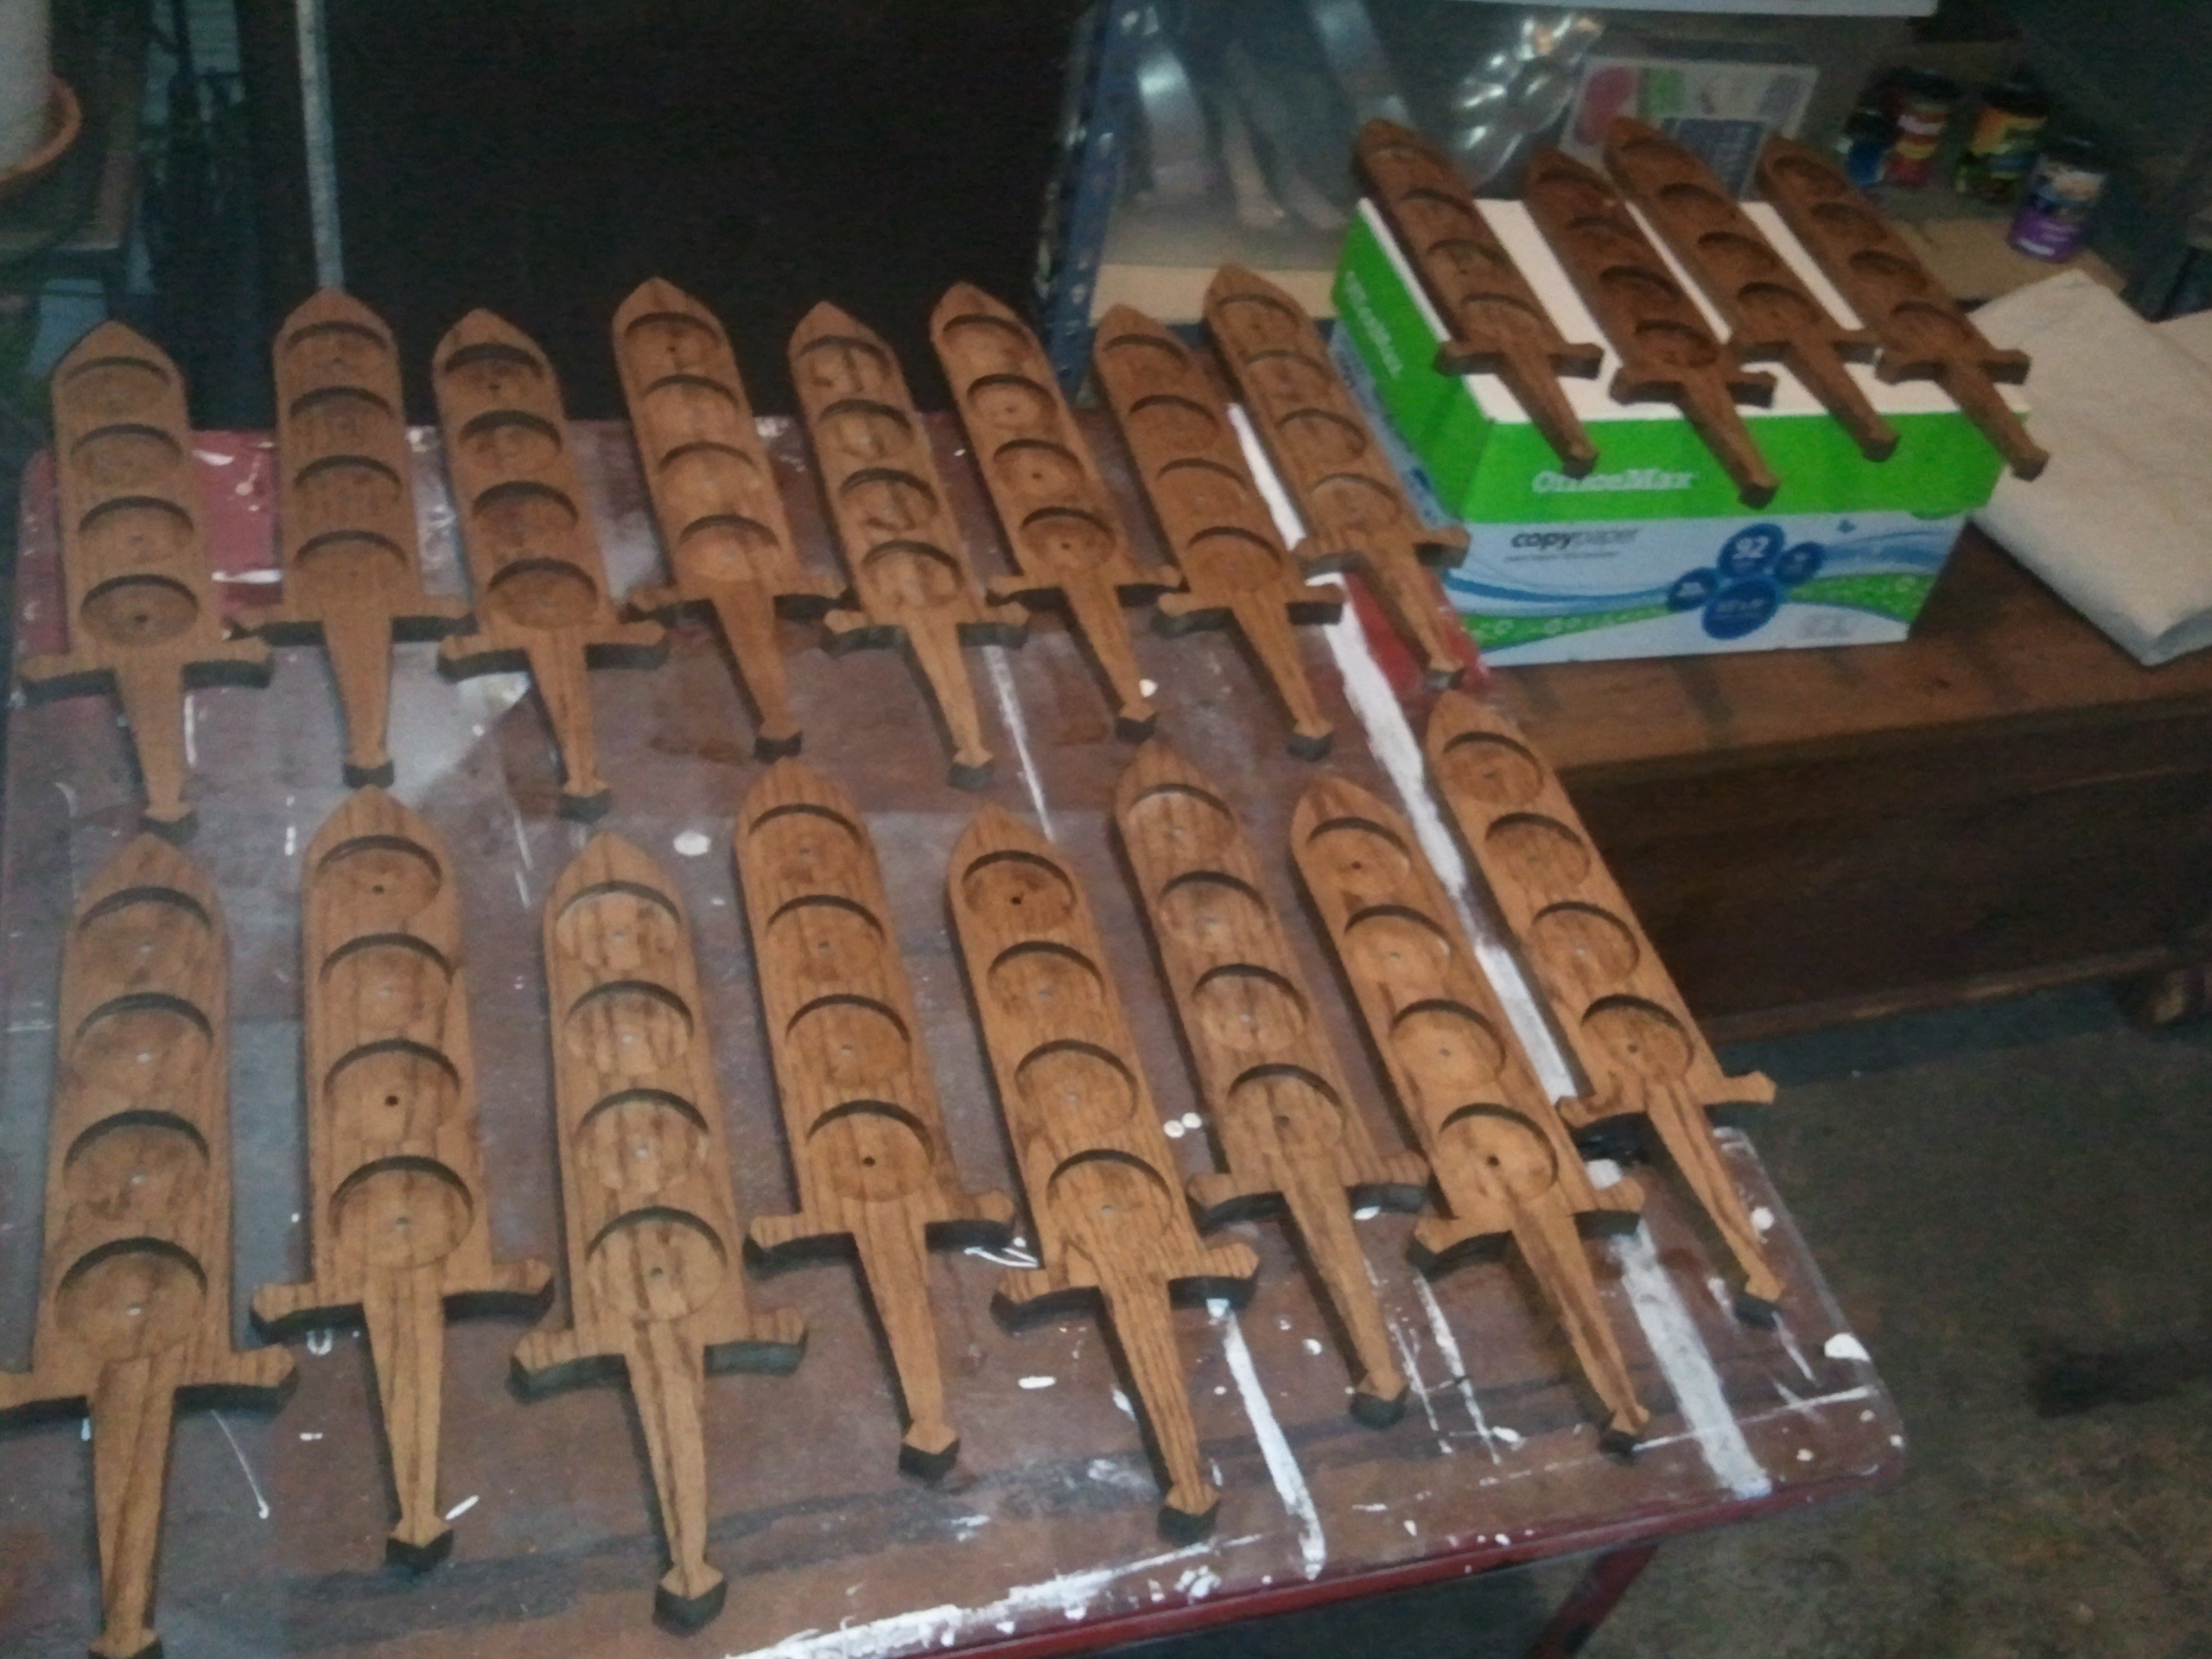
Step 7: Poly coat. You will want to seal the wood so a coat or two of poly is well worth the investment. As typical, you’ll need to choose if you want a satin, semi-gloss or gloss. I went with the semi-gloss for this job.
Step 8: Corking. This is an optional step and one I have found is not present on most beer paddles. To me, this adds a more “finished” look. Plus, it serves a dual purpose of:
- covering the pilot holes, and
- giving a nice soft spot for the tasting glasses to rest.
I purchased a roll of cork from a fabric/hobby/craft store. I would recommend buying a cork roll that is glue backed. This will save you the step of having to glue down each cut circle and ensure that it dries. I used a compass mark the circumference of each hole, and then cut them out with scissors. I would HIGHLY recommend investing in a circle cutter (again, available at a local fabric/hobby/craft store). I’ll use that next time.

Step 9: Wrapping the Hilt. Again, another optional step. I wanted to add another dimension and use another media, so I elected to wrap the hilt of each sword with hemp twine. You can purchase spools of these at any big box DIY store. This also gives the server something to grip during transport. I understiched at the start and used a glue gun to finish off the last wrap.

Step 10: One down. 19 more to go…

Step 11: “Beauty Shot”. A pic showing all 20 paddles completed.

Conclusions: In retrospect, a somewhat easy DIY project once you settle on a style and material. There may have been easier ways to bore the holes, but with the tools I had, this worked for me. Some changes I would make to ensure inter-paddle “quality control” would be:
- Paddle design elements: With a complex design comes complex cuts. Know your limitations in being able to make clean cuts that will finish well. Could be why most beer paddles are a basic design. This one wasn’t too difficult.
- Ensuring your router stage is locked down: Mine tended to drift a bit and I had to keep watch on the hole depth. You don’t want to route lower than your hole saw cut, since the hole saw set the diameter.
- Using a circle cutter for the cork: Free-hand gets tiring and can lead to unacceptable deviations in the circles. I replaced a few, due to being too small and not giving a clean finish.
All in all, a fun job. I hope the products will be put to good use!
If you are interested in having some custom paddles made for you and/or your bar, drop me a note below and we can discuss.
Click here to jump back to the homepage.
Hello,
I am in the process of opening a craft beer bottle/retail shop and would like to have some custom made beer flight paddles made. I am located in Charlotte, NC, but can travel to Columbia to meet and discuss the designs for the paddles we would like to have commissioned.
Great meeting you last week Ketan! Looking forward to working with you!